Sunday, January 8, 2012

Pantry Organization Project #2

This was a simple project, but much needed.  We seem to have amassed a large collection of plastic grocery bags in the pantry.  I do already have some of the fabric hanger thingys (technical term) that you shove them in the top and pull out the bottom, but those were not enough! 

Then I sawTHIS.  

Lightbulb went off and wouldn't you know we finished the large can of coffee that day.  I used a LARGE coffee can...


I was prepared to spray paint it, but once I removed the label it looked lovely all in its shiny silver self.  Using the Silhouette Cameo I printed up some vinyl letters to match the previously done project #1.  


I did spray paint the lid black.  And SHOVED in the bags and poof!  A new bag holder to add to my collection.  


One more small step towards the Pantry/Mudroom redo.

I also need to mention Pinterest because this is where a lot of the inspiration and ideas are coming from.   Just don't tell fabulous husband, or he may ban me from the site.

Friday, January 6, 2012

A girl can dream...

Here are some of the ideas I've "pinned" for the pantry/mudroom renovation!

from BHG.com

I love the color of the above picture.  The shoe storage, coat rack and baskets are also really great.


This makes me WANT bead board walls!!!  


I can so do this with my Silhouette!  What a great idea.  Wonder if those containers EVER go on sale.

Sunday, January 1, 2012

2012 Goal #1: Pantry Organization Project #1

Project # 1 involved using my Silhouette Cameo machine for vinyl printing labels for some of my bulk storage.  After playing around with how to print vinyl, picking out a color and then doing all the dirty work to print, remove vinyl scrap and then adhere to the containers, I think they came out great!

It wasn't too difficult to do and already looks better.  Now the fabulous husband will never question what is what.  I've had the Rubbermaid Containers for awhile and they work really well to keep things fresh.  It is also handy to see exactly what is in them.  But I wanted to experiment with the new Silhouette Cameo and the vinyl kit I had ordered, so inspiration hit and Poof!  Well, not so much poof, but didn't take me too long and I think they turned out really well.  As I get further into the pantry re-do I hope to add more for things like brown sugar, baking soda, pastry flour etc.  Which means more vinyl!


2012 Goal #1: Organize/Re-do Pantry

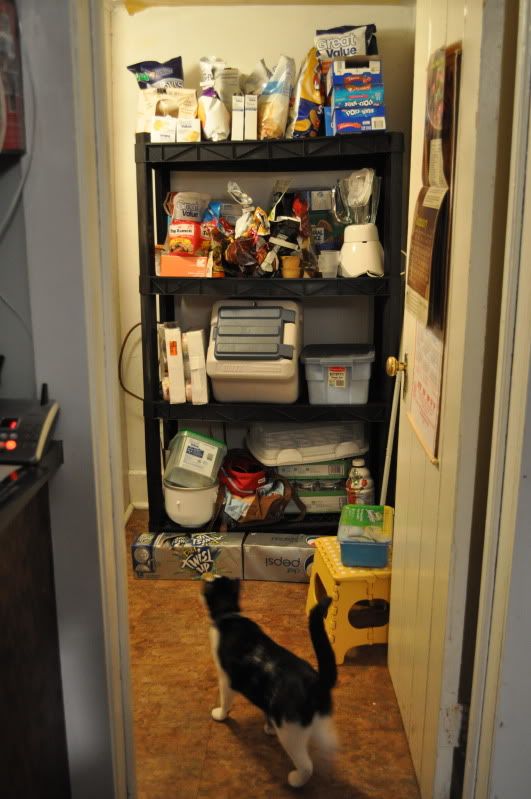
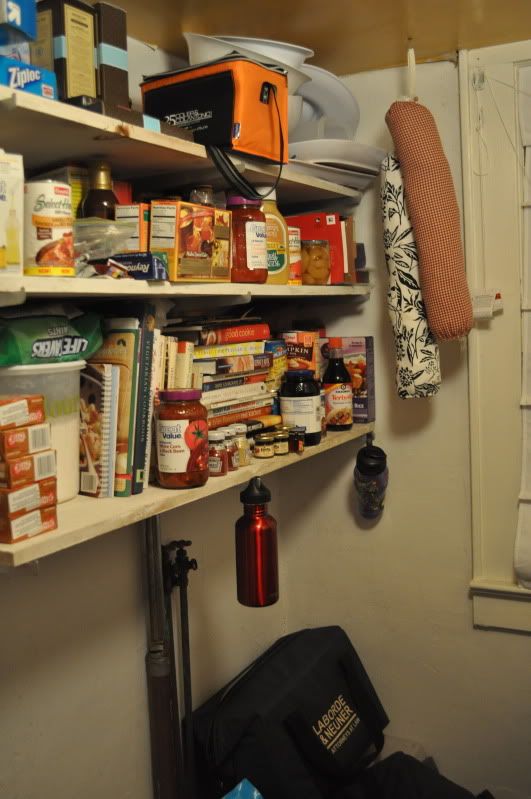
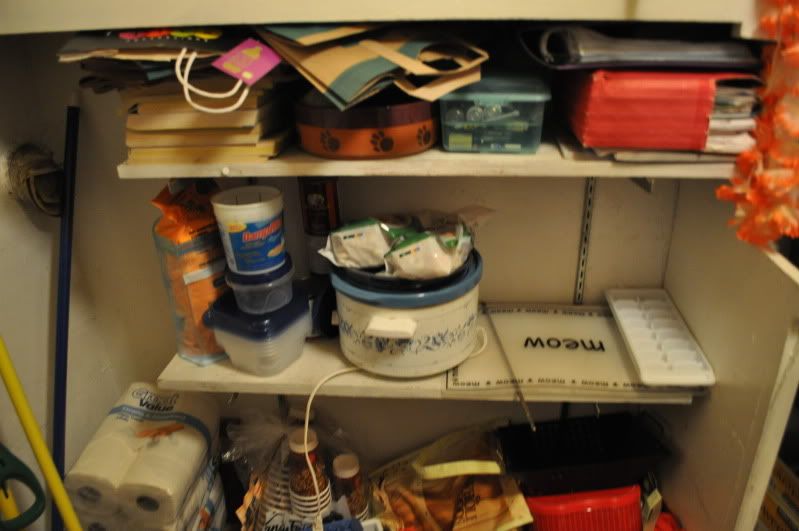
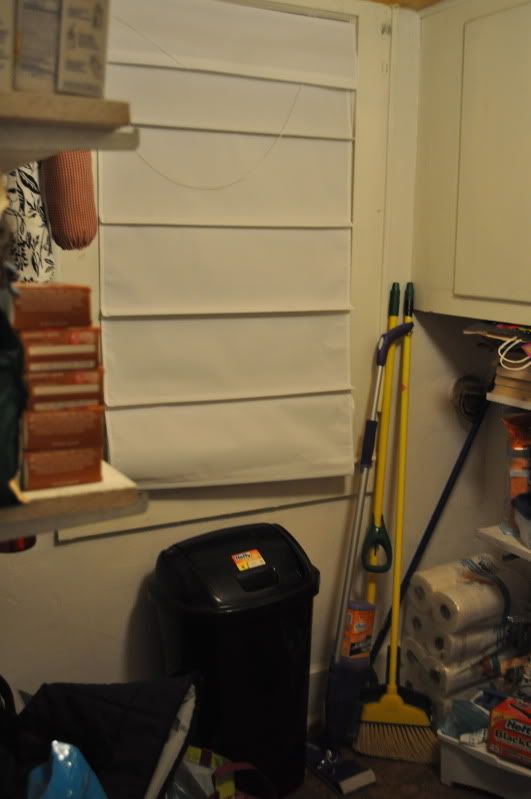
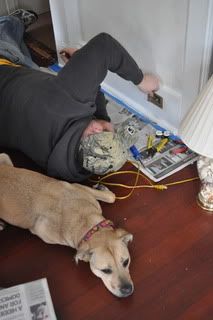
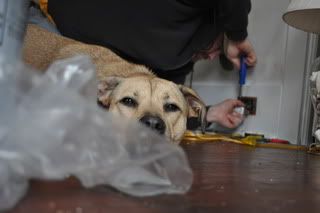
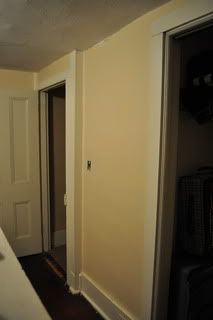
One of my goals for 2012 is to renovate our current pantry into a mudroom/pantry.  It's got great potential, but it needs A LOT of help.  As you can see in the pictures below, it isn't in the best condition.  The ceiling is contact paper, there is a "soft" spot in the floor, there is old vents and piping from when a former homeowner had their washer and dryer in there.  While functional, it tends to be a disaster.

Ideas:
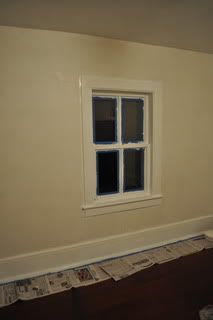
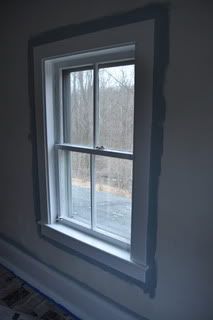
1. Remove window and replace with a door.
2. Find someone who is redoing their kitchen and take some of the old cabinets and re purpose.  Already have someone who may be a good hookup.  Depending on size, condition etc I am thinking I may have to refinish them and add new hardware.
3. Replace the flooring.  This will involve fixing some of the sub flooring as well and I will most likely just go with a good vinyl rolled flooring as this will most likely turn out to be the entrance we would use to the house.
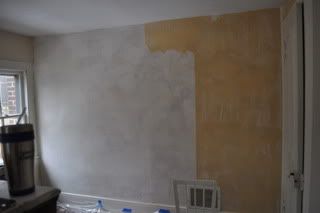
4. Paint the walls a much better color - something more inviting, shows less dirt and will compliment the cabinets (see #2 - no idea what they will be like).
5. Create a space for all our needs and all my wants.

Current Needs/Wants:
One of the most important things in planning this venture is to figure out exactly what we NEED, what I WANT and how to make it ALL work.

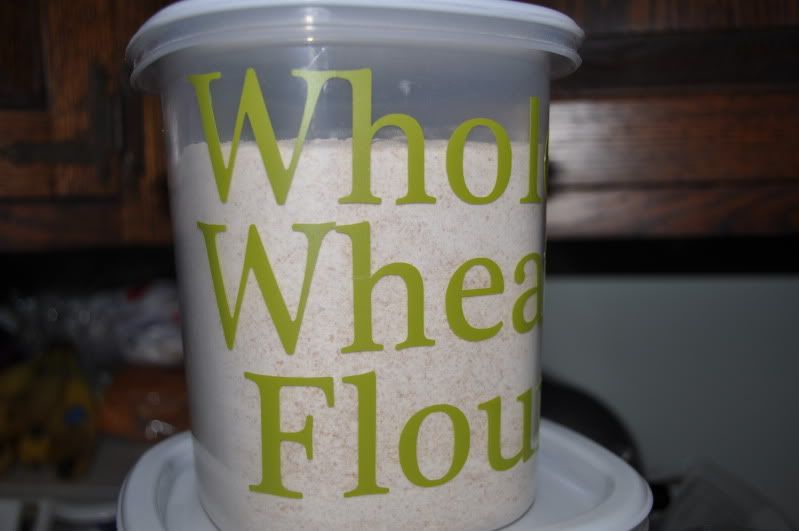
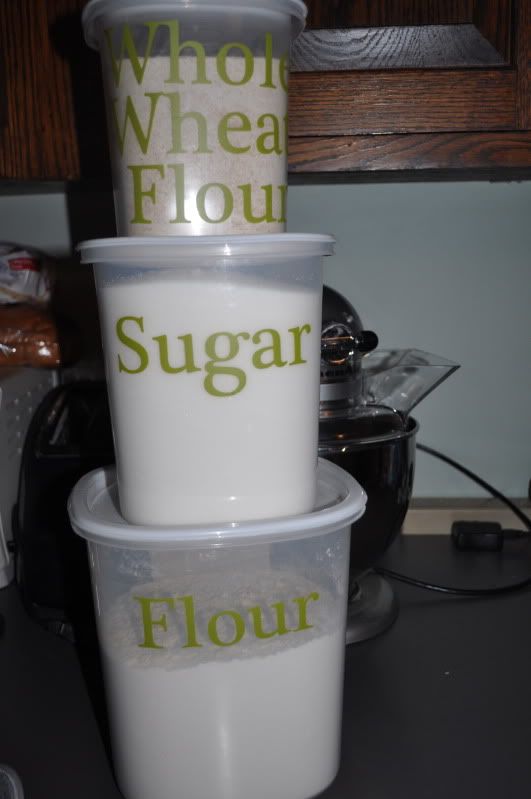
1. Food storage (obviously important that we are able to store all our pantry needs).  Rather than the current haphazard set up of food wherever it fits, and stuff just stuck on shelves, I'd like to have a system in place... all baking items, staples, cans, etc where they are easy to see and easy to just grab.
2. Shoe storage.  I envision a lower cabinet that we can open when we walk in and kick off our shoes into and also store them in there).
3. Pet Storage - A place for dog/cat food, treats, toys, bowls, and all the extras that come with them.  They've got a lot of STUFF.
4. Cookbook/Recipe Storage:  I have a lot of cookbooks and recipes.  I need a place to store/display them all.
5. Cleaning Supplies/Paper Goods: MUST come up with something good for storing paper towels, cleaning products and supplies.
6. Pot/Pan/Small Appliance Storage: Need a place to store all the extra items like the blender, kitchen aide etc.

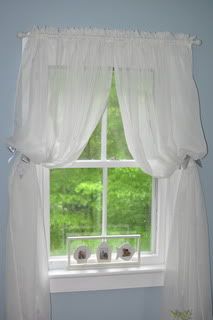
I've been scouring Pininterest for ideas, among other sites.


Wednesday, May 18, 2011

The Beach Guest Room Day #4… a little late.

All the trim, the windows and door were painted, the wall paint was cut in and then I painted the walls. At this point, I was already in love with the color, Behr’s Ozone, but once it was on the walls? I was MADLY in love. It is the perfect color for this room and with the Ultra Pure White Trim by Behr and the dark wood floors it was fabulous.

I picked up simple curtain rods from Wal-Mart, and hung sheer’s that my mom had given me. Using some satin silver ribbon I tied them back and Viola! It looks great.


There is still a lot to do… refinish some pieces of furniture, move some around, pick up some night stands, iron the bed skirt, paint the closet and closet doors but otherwise we are in good shape!


Friday, March 18, 2011

The Beach Guest Room Day #3!

A short recap, at this point I have removed all the wallpaper in the room. Next? I sanded and spackled a few nail spots, as well as washed down all the trim and windows. After that I sanded, spackled and sanded again where curtain rod holes were on the window frames.

The next step? Paint the trim and windows! All of same would be getting 2 coats of Behr Ultra Paint in Ultra Pure White with a semi-gloss finish.
Tapping off windows and trim is probably my least favorite thing. I would rather remove a full room of wallpaper. Seriously, I would. It’s so tedious and time consuming and really just kills my motivation to move on. But, I pushed through, tapped off the three windows and the large amount of trim and door.

I did all of this in more than just a day, but for blogging purposes I’ll lump it into one day. Overall the whole room from wallpaper removal to final paint layer took about 2 weeks, which is pretty good considering that I did it alone AND I work full time.

Fabulous Husband did help out with changing out the two outlets and the one light switch in the room. As did our wonderfully crazy foster dog Ris, who we are encouraging to pay attention and learn some tricks of the renovation trade. She’s only excelling at taking cute pictures at this time.


After two coats on ALLLLL the trim, I then started to cut in with the beautiful wall paint….

More to come…

PS. For those who may wonder, yes, I did (accidentally) paint the windows shut. I’m going to try to remedy that this weekend.


Wednesday, March 16, 2011

The Beach Guest Room Day #2!

On the first night of my boredom, I removed the first layer of the wallpaper, simply by peeling it off. I pushed all the furniture into the middle of the room and emptied out what I could. What was left on the walls was the paper wallpaper backing, which ironically looked better than the wallpaper itself.


The next day I grabbed my 5 gallon bucket, rubber gloves, gallon of vinegar, plastic floor covering, and scrapper. Using a 50/50 mixture of warm water and vinegar I sponged the walls down with it, let it sit for 10-15 minutes and began removing the sheets of the paper backing. As luck would have it, they came off with ease and the job didn’t take nearly as long as I anticipated.

But I smelled like vinegar. Yum.

At this point in the renovation, I have removed enough wallpaper that I think I can call myself a pro. And oddly I find it almost cathartic. There is one full wall of wallpaper in the office left and then 2 bathrooms with some wallpaper. I’m almost sad that I will most likely have no wallpaper left to remove by the time we have been in the house a year.


I may have to offer my services to some friends down the road just to enjoy what has become a favorite past time of mine. NOT.